
Auto-generate your NodeJs app + ReactJs Admin-UI 😳
Think of building a RESTApi. What do you actually do? Set up a server with Expressjs, configure a database, write models, controllers, and some crud operations, etc. Don't you think you are wasting time writing some boilerplate code? And what about Admin-UI? Is there any logic involved in building an Admin-UI? Now, what if there is a UI tool that generates a Nodejs application with a database along with all those models, CRUD operations, and a great Admin-UI?
Let's get started
And that tool is Amplication
Amplication

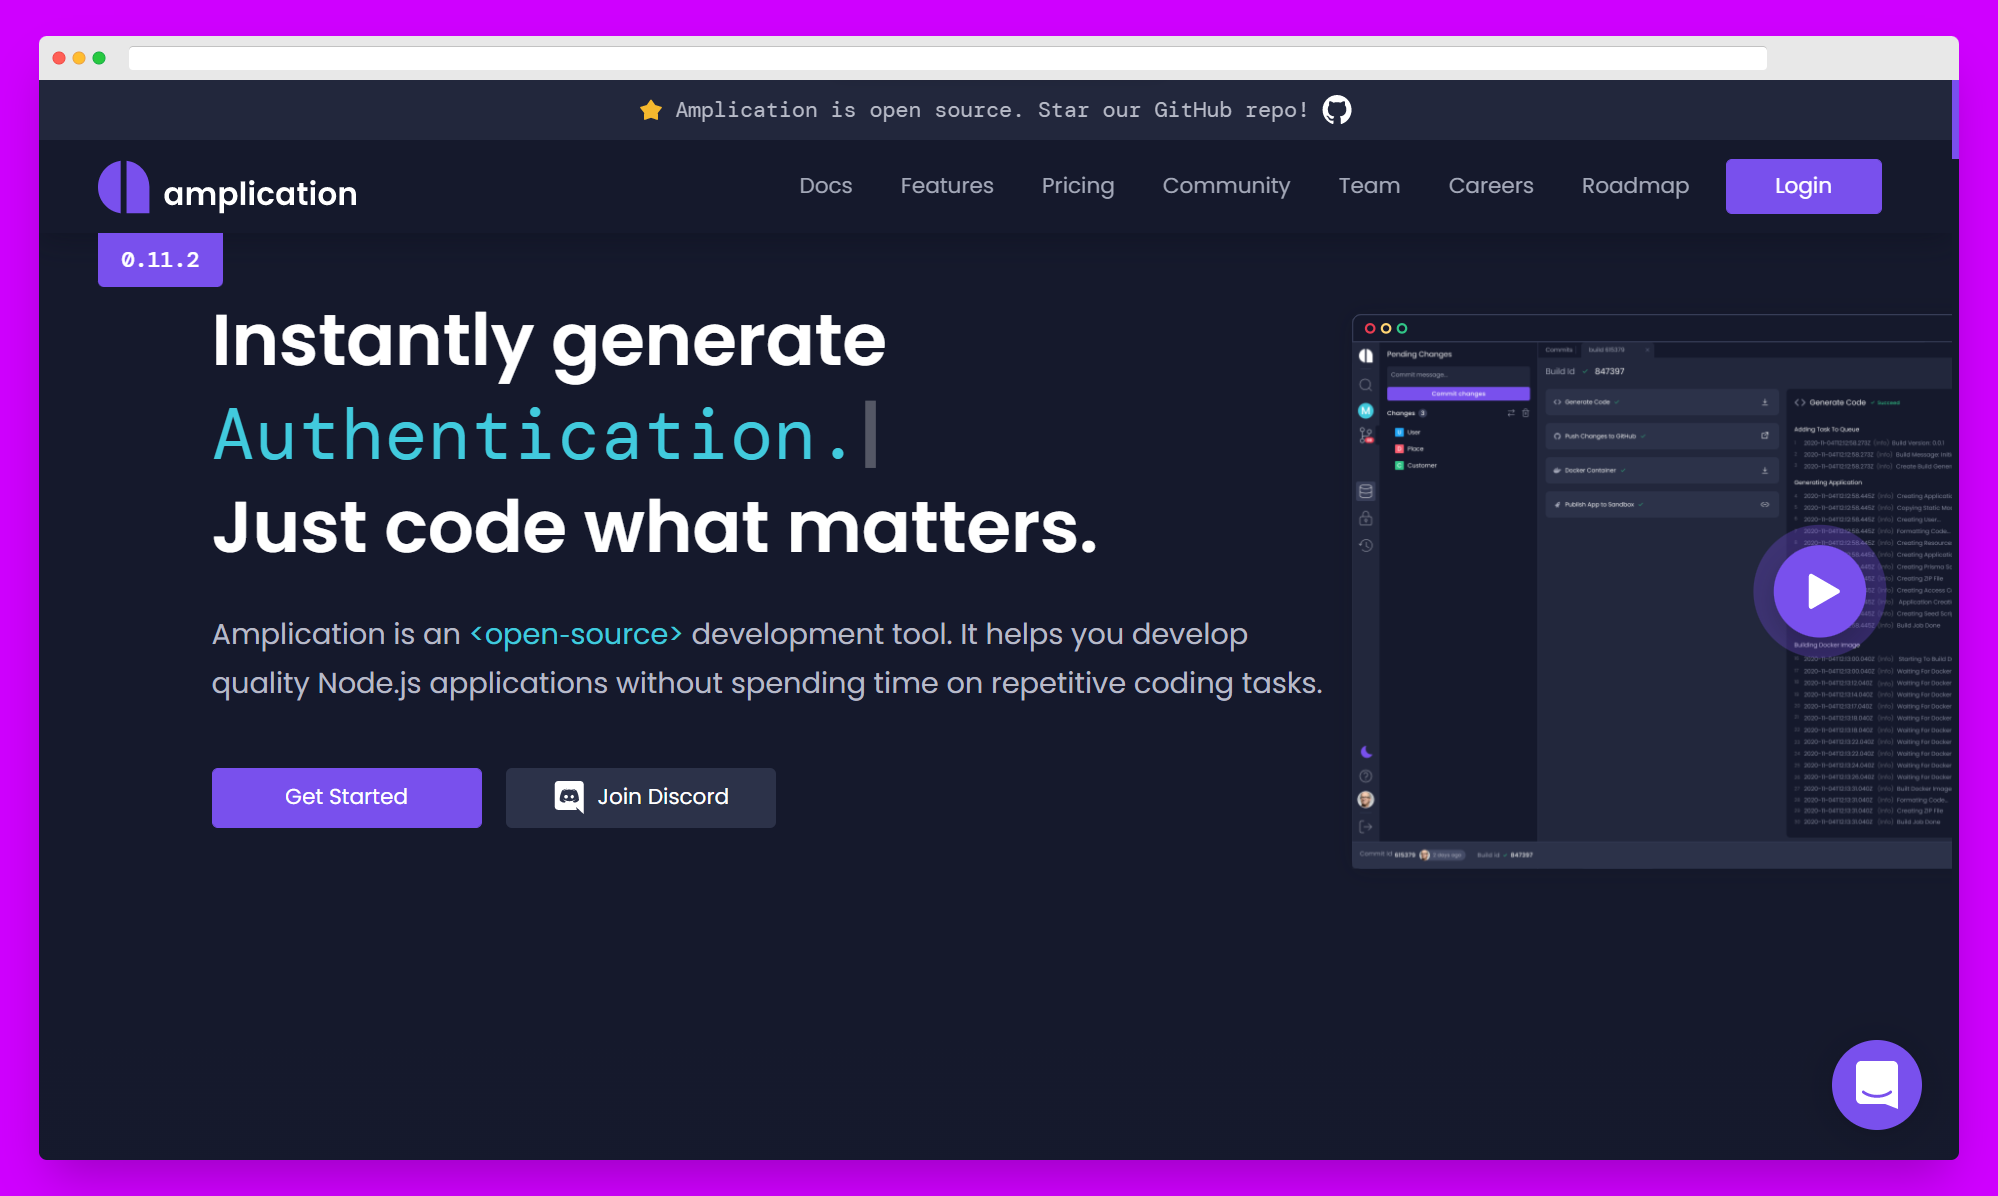
Amplication is an open-source low-code tool. Means a completely free-to-use tool. Interestingly, amplication can be used by front-end developers also, using its UI you can just make a few clicks and boom your typescript NodeJs application along with React admin-UI is ready.
Let's see what amplication provides-
- React Admin-UI generated with react-admin.
- NodeJs app with Postgres database, authentication
- Sync with GitHub or download code.
- Sandbox environment to develop and test your app without setting it up locally.
- Docker setup to deploy to the cloud.
- And many more...
Let's start using amplication by creating a project
Prerequisites
- GitHub account
Step 1 - Get Amplication
- Go to amplication.com.
- Signup with GitHub.
Step 2 - Create a new project
-
Click "+ New app".
-
You have three amazing options.
- Generate the app schema according to your data by uploading an excel or CSV file.
- Start from scratch
- Start from a template
-
As we are learning how to use, select "Start from scratch".
Step 3 - Customize app

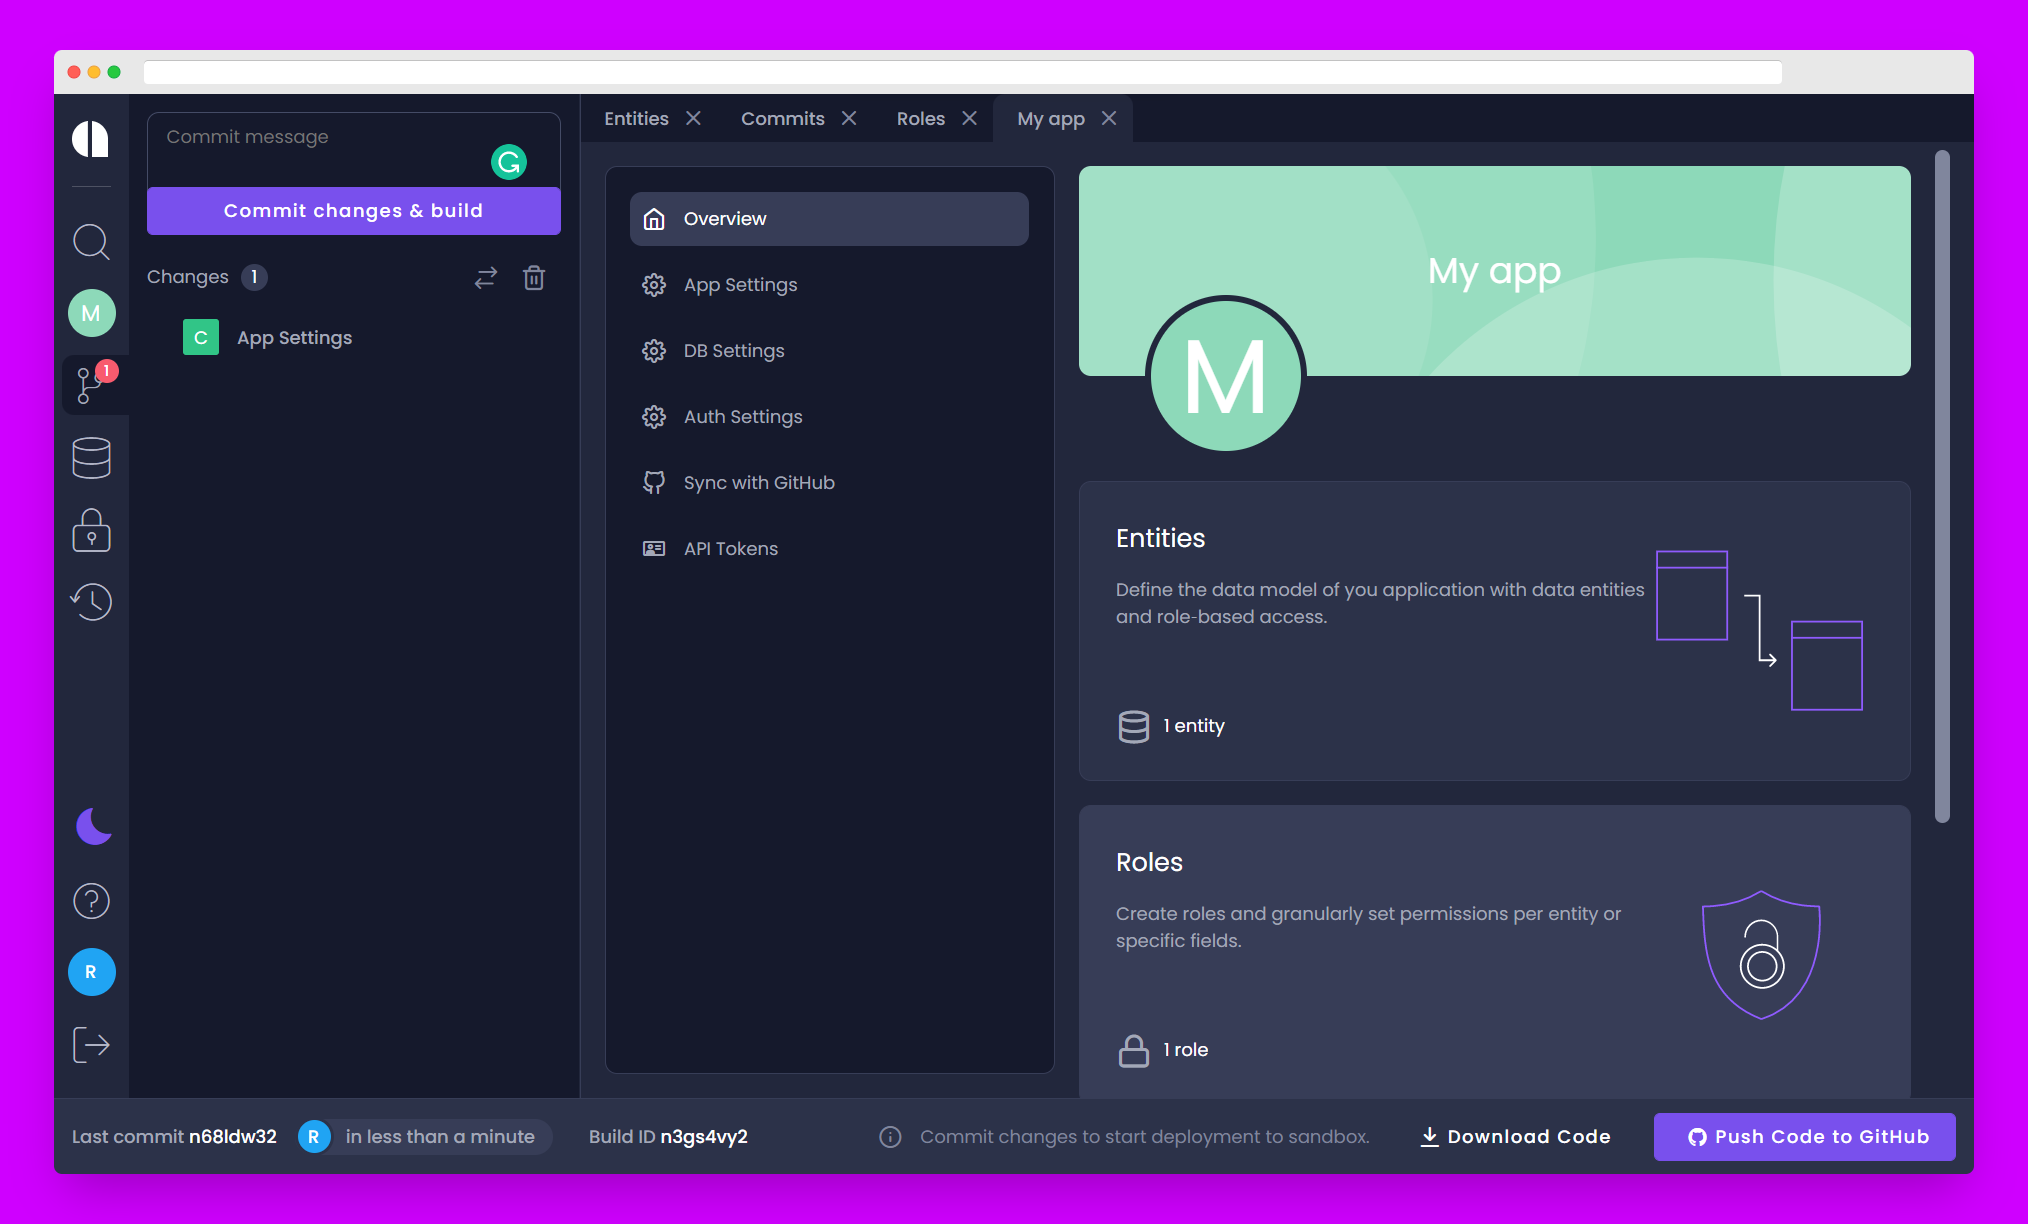
- Go to app Dashboard,
- App Settings - Change app name, description, color
- DB Settings - Leave them as it is because they can be used for dev purposes only as they are exposed in the generated app.
- Auth Settings - Select which authentication method you want to use.
- Sync with GitHub - Turn this on if you want to automatically push code to your repo.
Step 3 - Create entities
- Go to Entities.
- The app automatically creates an entity called "User". You can't remove this because a user is needed to manage the app like permissions, admin-UI, etc.
- Start creating your own entities by clicking "+ Add entity".
Step 4 - Test the app
- Commit changes.
- Now, you have two options,
- Test your app in a cloud environment with a sandbox that is free and everything will be ready for you. No need to install anything or no need to configure the database.
- Download the code as a zip file or clone it from the GitHub repo and set up everything locally.
Step 5 - Deploy
- Sandbox is only for development purposes with limited resources, so you can't use it for production.
- As amplication provides docker support you can build an image and deploy it to any cloud service.
That's it! Your NodeJs application is ready within minutes. Super simple, right?
⚒️ Tool of the week ⚒️

If you find this useful. And don't forget to give a star to this great tool - github.